Adding an
Island Touch
Your backyard transformation begins with an easy and fun DIY project.
 Enchant Your Backyard
Chef & cookbook author Kate McMillan and DIY decor expert Brittni Mehlhoff are back to share a few easy ideas for turning an ordinary backyard into an enchanted setting for a summer party.
Your backyard transformation begins with an easy and fun DIY project.
By Brittini Mehlhoff of Paper & Stitch
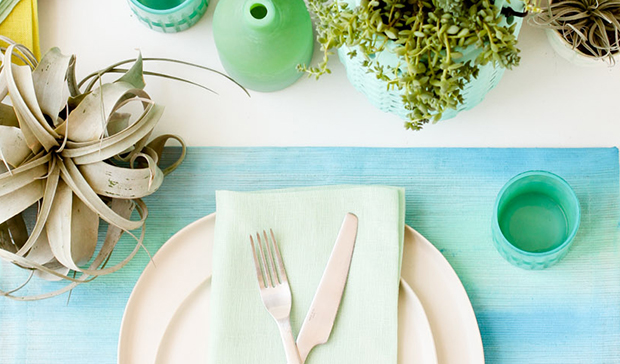
Inspired by the turquoise waters of Bora Bora, this DIY party idea will dress up your picnic table in a hurry.
To make your own watercolor placemats, you'll need a plain white placemat, a glass of water, a paintbrush, and textile paint. You can pick up textile paint at any arts and crafts or hobby store.
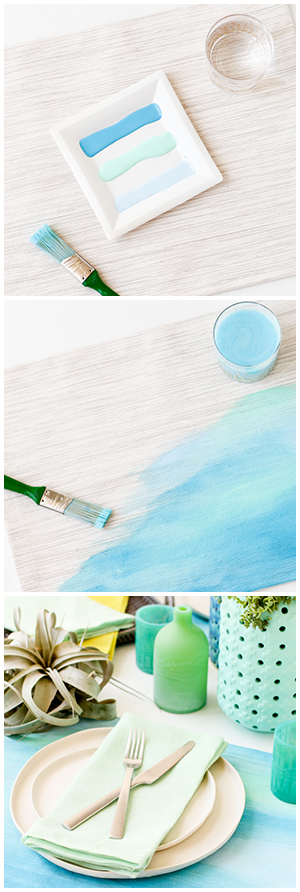
Start by adding a layer of water to the surface of your placemat with a paintbrush.
Then beginning adding layers of paint on top, horizontally.
Continue adding water with a paintbrush as you are painting to give the placemat a watercolor look.
Once the placemat is covered in paint, let it air dry before using.

Brittni Mehlhoff is a craft stylist living in Atlanta, GA. In addition to styling, she is the founding editor of Paper & Stitch, a DIY lifestyle blog that features accessible, modern project ideas and recipes for a hip and happy home. Her work has been featured in numerous craft books, print publications, and popular sites, such as Woman's Day, Better Homes and Gardens, Country Living, Apartment Therapy, and many more. In 2014, Paste magazine named Paper & Stitch #2 on its list of top 10 DIY blogs to follow.
papernstitchblog.com
Nothing says summertime grilling quite like a skewer. Here’s a sophisticated and modern take on a classic that will fit right in with your island theme. Don’t worry — you can handle it.
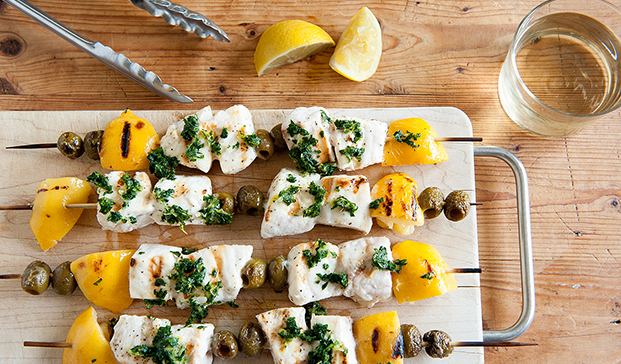
 10 min prep
 15 min cook
 4 servings
Kate McMillan is chef and owner of Kate McMillan Catering. She has authored 9 recipe books for Williams-Sonoma, and has worked as an event planner for Vogue and Glamour magazines. She lives in Northern California with husband and their three daughters.
katemcmillancatering.com

If the host isn’t having fun, no one else will.
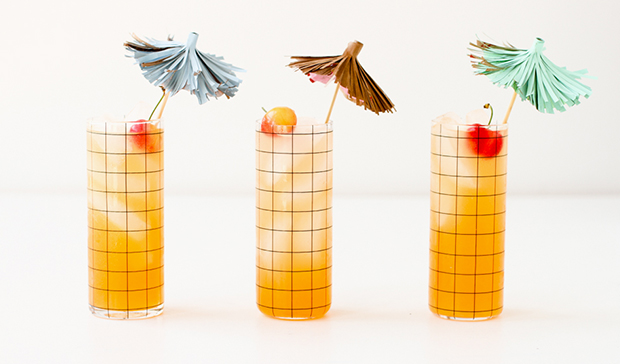
The sweet flavor of mango and sassy punch of spice provides a tropical twist to this classic cocktail.
By Brittini Mehlhoff of Paper & Stitch
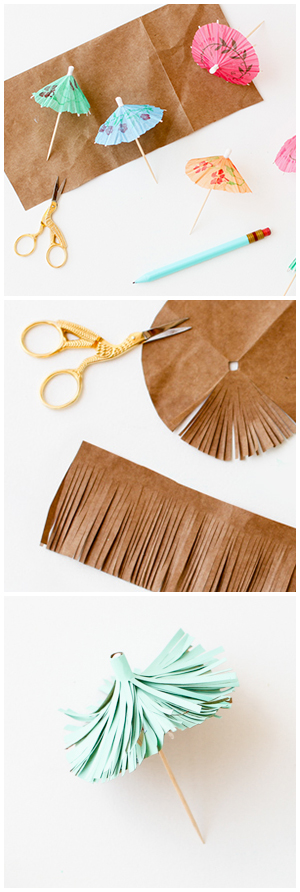
Sail away to a little piece of paradise with these DIY umbrella drink stirrers inspired by the thatched roof bungalows Bora Bora is known for. To make your own DIY drink stirrers you'll need: scissors, a brown paper bag, paint and a paintbrush (optional), craft glue, and paper cocktail umbrellas (which can be found at your local grocery or party store).
To create a colorful umbrella, you'll first want to paint a medium sized area of a brown paper bag and let it dry.
Then, cut a circle from the bag that is slightly larger than a cocktail umbrella. Next, cut a long rectangular strip from the same bag.
Create fringe strips all the way around the circle shape and the long rectangular strip.
Glue the circle onto the umbrella then wrap the long rectangular strip around and around the umbrella as well. Secure the end with glue. For tall glasses, attach the umbrella to a wood skewer before using.

Do as much ahead as you can! Read through your recipes and see what can be done a day or two in advance. Most recipes can at least be prepped in advance. Exceptions to this rule are herb sauces (they will lose their color) and fresh fish (always try to buy the same day you are cooking).

