Along the Boardwalk
These easy party touches by stylist Kiersten Stevens are inspired by one of America’s most recognized symbols of seaside summertime fun – the beach boardwalk.
 Hit the Beach
We’re joined by expert stylist Kiersten Stevens and chef Kate McMillan to create a party around summer’s most popular destination. Don’t live near an ocean? It’s OK, we’ll bring the beach to you.
These easy party touches by stylist Kiersten Stevens are inspired by one of America’s most recognized symbols of seaside summertime fun – the beach boardwalk.
By Kiersten Stevens of Workgroup
When I think of summer, I think of the sun beating down on me at the beach… and how good it feels to cool down with a refreshing drink.
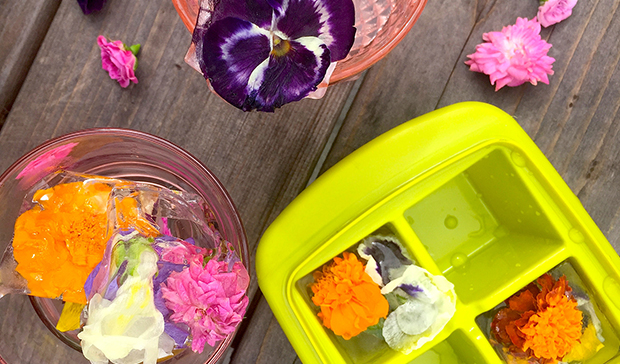
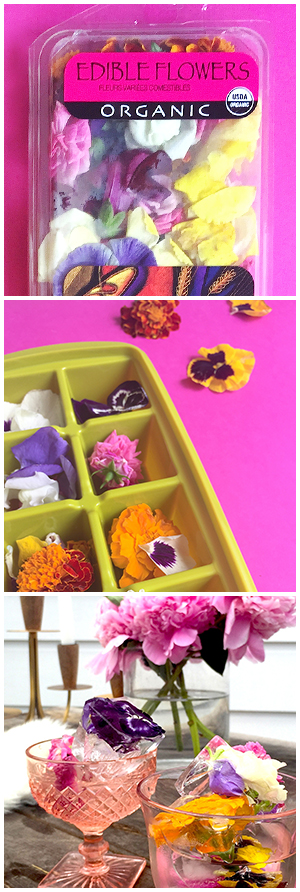
Ice cubes come in all shapes and sizes these days, and they can add a lot of fun to a cocktail. An easy way to elevate a simple drink and add a pop of color is to add edible flowers to the ice tray before freezing. It's a simple and beautiful touch that will earn you a lot of compliments at your party.
You’ll just need an ice tray and some edible flowers.
I like the silicon ice trays from Bed Bath & Beyond, which come in a variety of sizes & fun colors. Then, just add the edible flowers to the tray. Most specialty grocers like Whole Foods will carry these. Be sure to not pick just any old flowers, as some are poisonous! Make sure they’re edible. Then just add water and freeze.
Prep a few pitchers of infused water for a refreshing and eye-catching non-alcoholic drink. Just mix water, ice, and your preferred infusion:
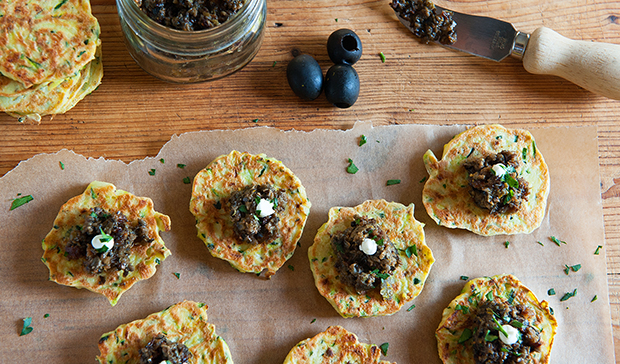
This stunning take on a classic American appetizer is a perfect addition to your beach party menu.
 25 min prep
 20 min cook
 4-6 servings

Nothing kills a party buzz quite like a host who is focusing on cleaning. It tells your guests that the party’s over and it’s time for them to leave. So just let it be and enjoy the time with your friends. The mess can wait until the morning. Unfortunately, it’s not going anywhere!
By Kiersten Stevens of workgroup-ltd.com
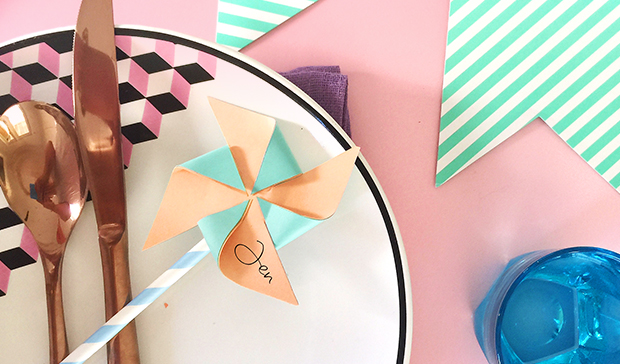
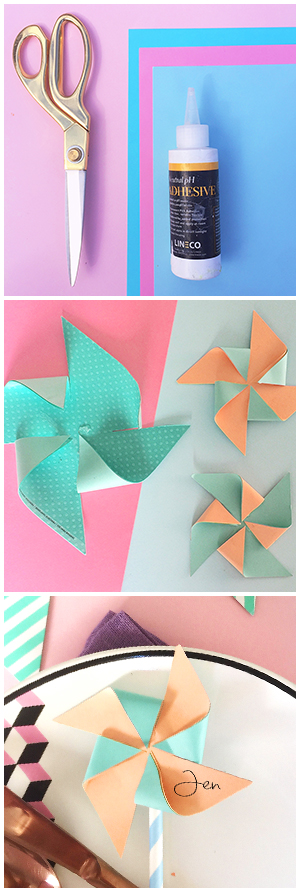
Another fun & retro touch you can add to a beach-themed party is a pinwheel nametag. All you need to make these are a few sheets of paper, scissors, glue, cute straw and a pen to write your guests names on the tags.
Cut the paper into squares. You can vary the size, but for reference, the ones I made here are 4x4. Then from each corner, cut about two-thirds of the way to square’s center, dividing each corner into two points. Fold every other point to center so points overlap.
Glue the points to the center. Paper glue works best – you can find this at most craft stores. Then glue your pinwheels to the top of the straw and write your guests’ names on the corners!
I like to set a colorful table and place the pinwheels in the middle of the plate. Bon appetite!

While you may be tempted to try ambitious recipes, just focus on best-quality ingredients, in-season produce, and complimentary flavors.